Right out of the chute, I’d like to say “Thank You.” You, my friends and regular readers, have voted to bring Tamara Jorell and your humble (that’s a lie) scribe into the top ten in the Faith 900 writers contest. Thank you for your kind attention to our requests. It is very much appreciated. I’ll let you know when the winners are selected.
Now, for the rest of our story.
Two years ago my friend Carol and I started making jam. It was fun. We already had the basic tools in each of our kitchens, just had to buy some supplies and we put up about thirty jars.
This year, we’re up to 149 jars and it’s not even canning season. The madness that is jam making has taken hold in my heart. I would like to share it with you and MWHAHAHAHAHAHHAHAHA watch you drift into that dead zone I live in every day. Shelves full of sweetened fruit preserves, specialized spoons, canning tools, and other implements of financial destruction.
Or, I’d like to share my love of a new hobby. It’s one of the above.
(One caution: the results of recipes like this vary quite a bit with the moisture content and flavor of the fruit you use. Assume, for a minute, that you have the same fruit as we did for that magic day. It will then turn out to be wonderful. If you blindly follow the recipe and your oranges are juicier, drier, or more tart, it may be something other than wonderful. You have been warned!)
Please follow me on Twitter, and “Like” the Facebook author page. Don’t forget to subscribe (the box is on the right side of the page) to be eligible for free e-books and other benefits!
Let’s start with the needed stuff to do it right. By right, I mean without struggling with all the mess and horror of using non-specialized implements. The basic premise is that you will do batches of 50-80 jars of your product.
A really long wooden stirring spoon/paddle. It should reach at least 6 inches above the rim of your biggest pot. You don’t want your fingers near that mix when it’s boiling. The one I use is handmade and was a gift. But you’ll find them on the web. Mine has a large paddle surface and it allows me to keep scraping the bottom of the pan so nothing sticks.
A large ladle. One that will hold at least 1/4 of a pint. Again, make sure the handle is at least 6 inches longer than the depth of your pot.
24 quart pot with solid handles (Available at Sams Club for about $40.) That’s the shiny aluminum one on the right.
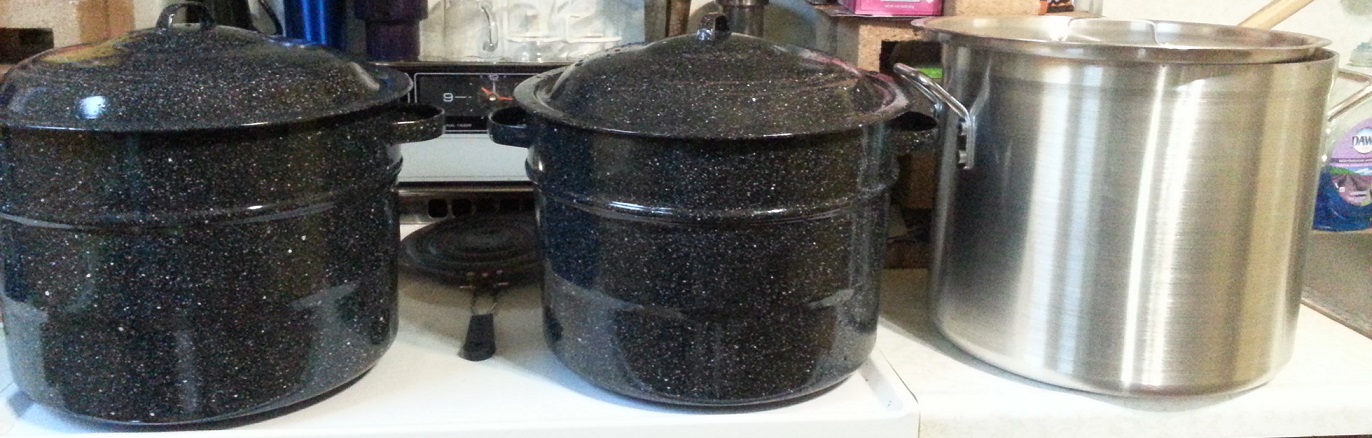
Needed pots
2 “Canning” pots. You can buy these at Walmart, Fleet Farm, and pretty much any place that sells canning supplies. The prices vary widely, but you can usually score them under $20 later in the season. I use two, because I hate waiting for stuff to cook.
A canning funnel and a jar holder. The funnel is designed for wide-mouth jars. It fits over the rim of the jar and gives you a guide to pouring in the mix for a good seal. It is so much easier than trying to ladle into the jar and then having to clean the rim to get a seal. The stainless ones look cool, but they transfer heat and you will be pouring 200+ degree jam through it 80 times. Plastic doesn’t transfer heat as well. I like plastic.
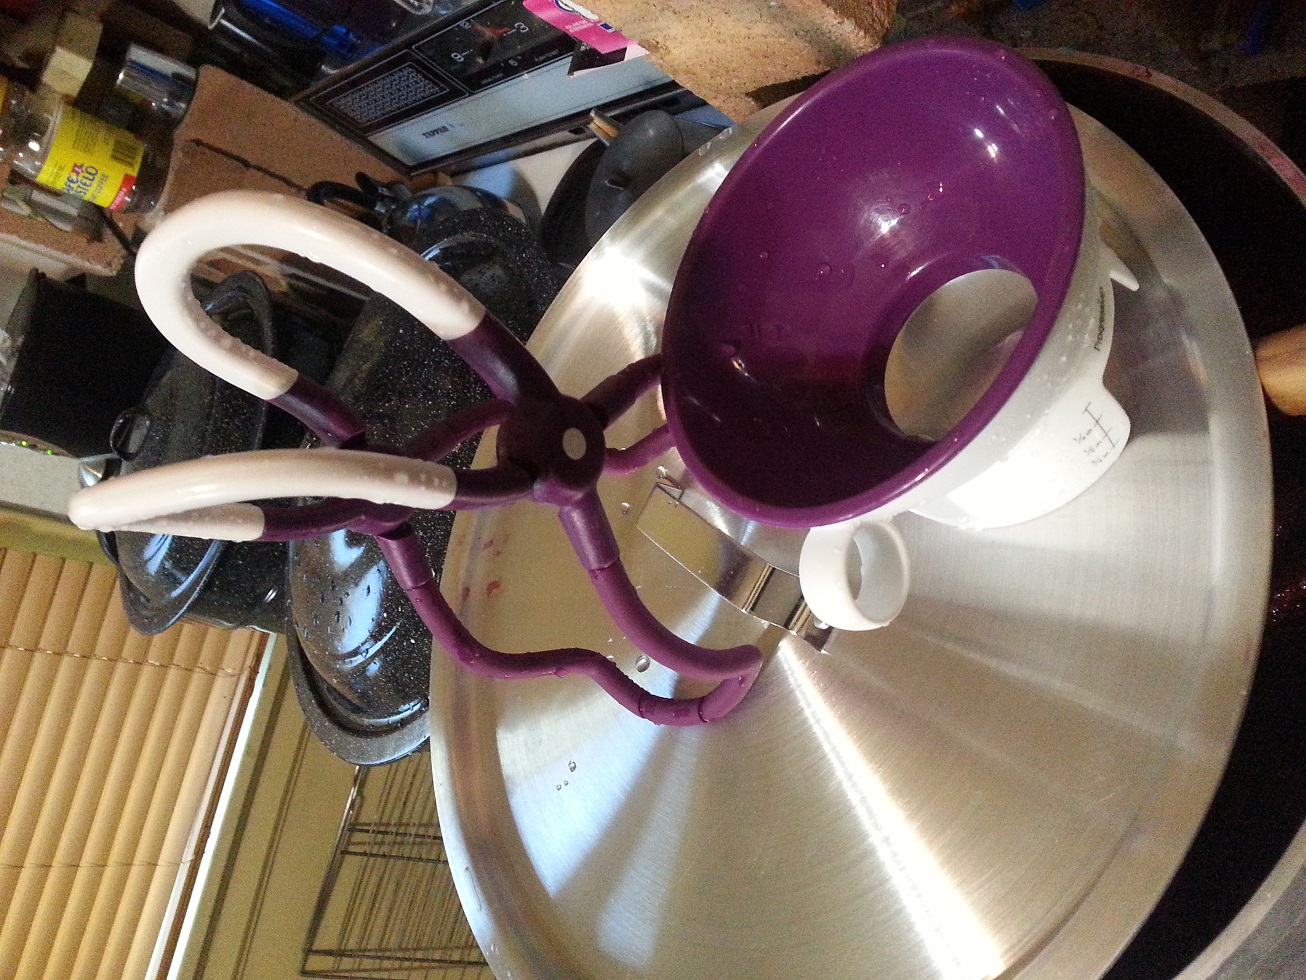
Gripper on the left, funnel on the right
The can gripper is the only way to go when placing and extracting jars in boiling water. It is designed to grab wide-mouth jars, keep your little fingers out of the boiling water, and give a good grip on the jars.
The two items are each under $15, and can be used over and over. Money well spent.
Jars. I like the wide mouth jars. Easier to use in my opinion. Pick the brand you want, all are pretty similar. Just beware when you buy them on sites like Snaigs list that the price is often no deal and the rims may be chipped. Buy new, they’re about $9.00 for a dozen jars. That’s the 1/2 pint and pint sized jars. Just sterilize them before using them. I wash them all by hand the morning of the cook while the “brew” is coming up to temperature. I do not reuse the lids, but I do reuse the rings. Shop the web for lids and rings, the prices vary widely and there are great specials all the time. I will never have to buy a lid again, I’ve got about a five year supply laid in. Ask my wife.
Preliminaries are over, now for the recipe:
Orange marmalade, blood style
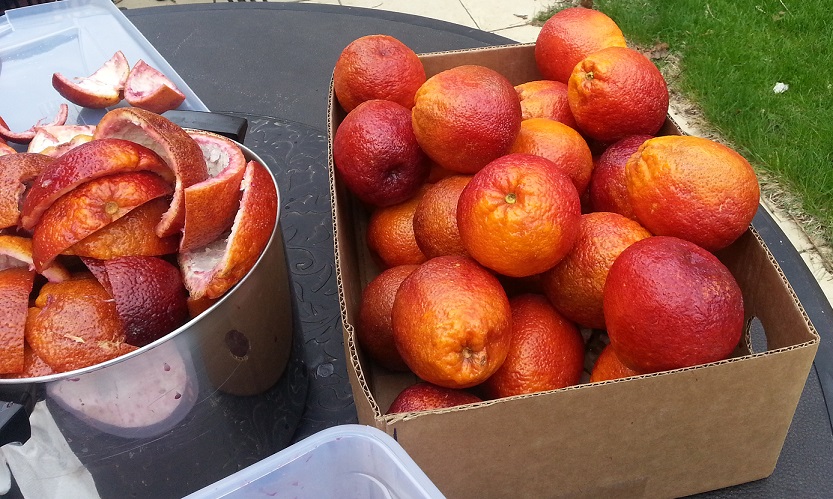
I like blood oranges. They are in season for only a few weeks each year. You can use regular oranges if you want, but I like the unique flavor of blood oranges.
Chop/tear/rip up 55 large blood oranges. Do NOT include the white part known as the pith.
Juice 6 very large lemons
Shred peel for 8 oranges (1/8 inch wide, 1 inch or less in length)
Shred peel for 2 lemons (1/8 inch wide, 1 inch or less in length)
3.5 liters of high-pulp orange juice
5 pounds of granulated sugar
10 pounds of honey
19 ounces of Pectin
MOST IMPORTANT POINT: Stir the mixture constantly. Never let it rest for more than two or three minutes or you risk burning the liquid on the bottom of the pot. I use a heat diffuser (Different than this one, but quite similar) on the burner to even the heat. But you must be ready to stir this mixture for up to four hours. Teamwork!
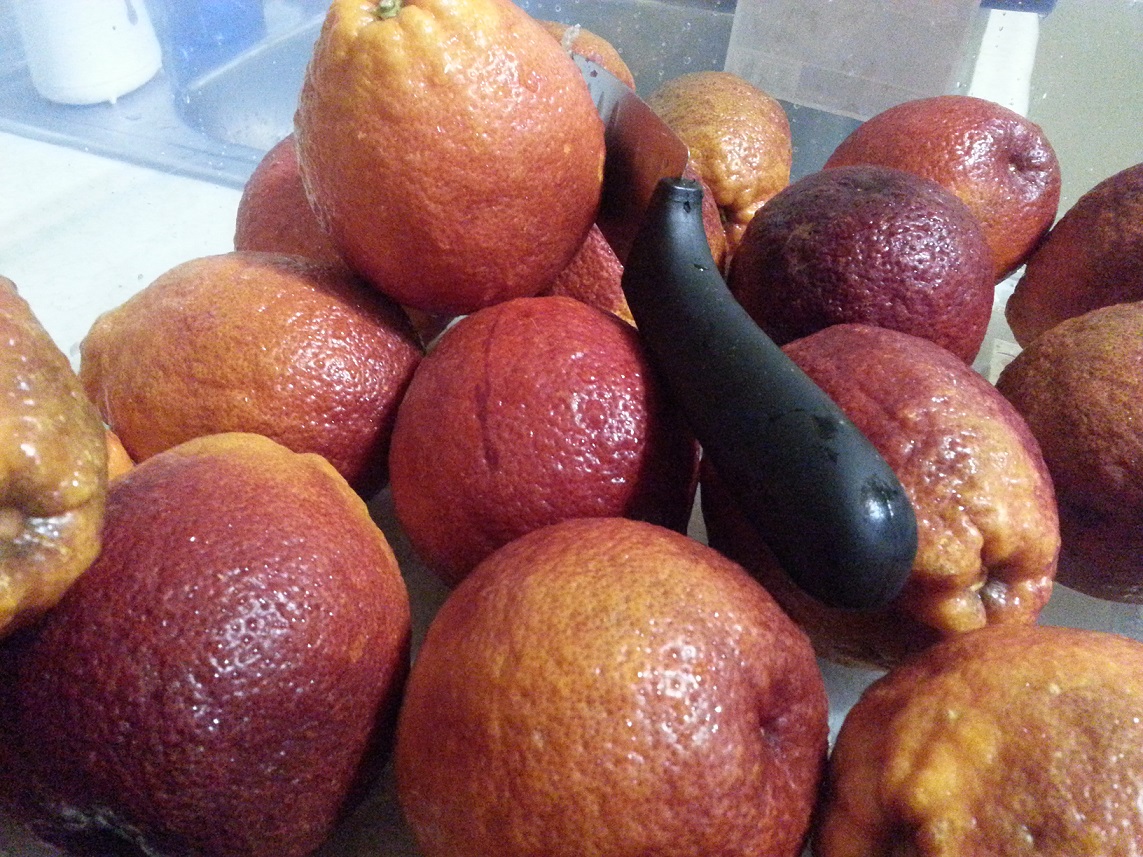
This is where we start.
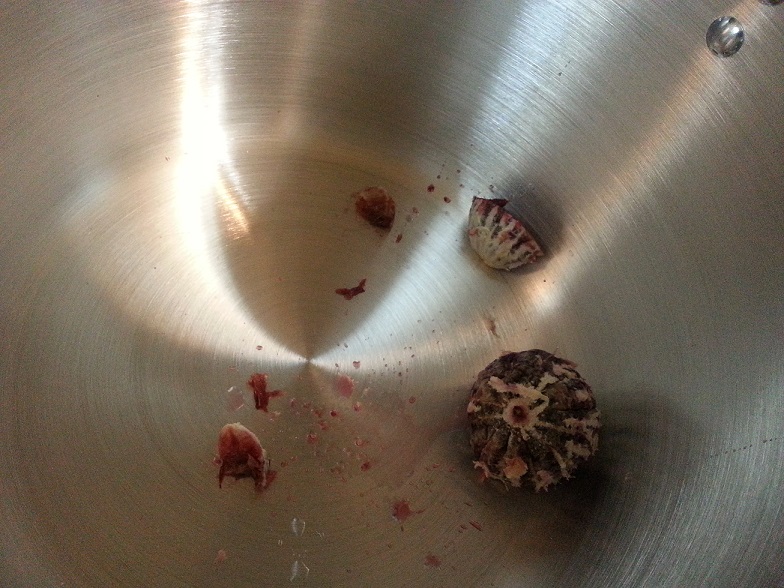
Easiest method is to quarter the oranges and remove the fruit with your fingers.
Take the peeled oranges and shred them. I put 2/3 of mine in a blender, and tore the rest up into gummy-bear sized bits.
It takes forever.
Shred the peel using a knife or other kitchen implement. It should look like this:
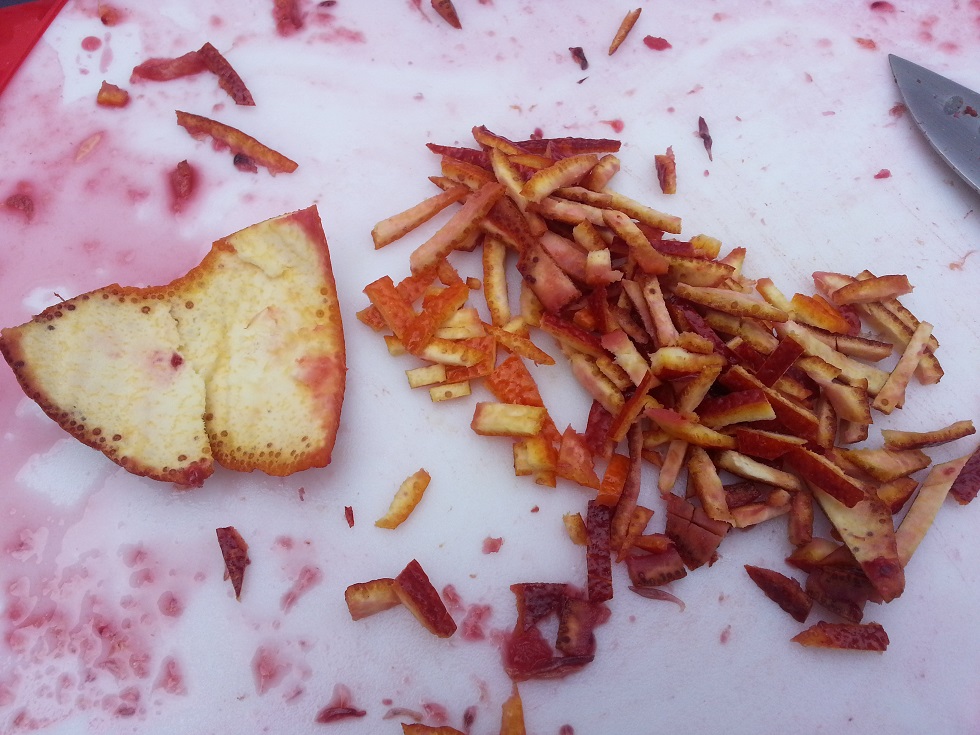
Shredded peel
Put the oranges, the juice of the lemons and oranges, and the shredded peel (both lemon and orange) in the pot. Start it out on medium to low heat.
Once the mix starts to heat a bit, add the orange juice.
Bring to a rolling boil and add honey. (I used Walker Farms Orange Blossom honey and Greek Honey. Use whatever flavors you like!)
Once this has boiled, test for sweetness. I included five pounds of sugar in the recipe because if your oranges and lemons are super tart you will need to keep adding sugar until it hits the taste point you seek. Ours were very bitter and required the whole bag. I know it’s a lot of sugar, but you’re making 70 1/2 pint jars of jam.
Bring it back to a boil and begin adding pectin until the consistency is correct. Generally it’s best to add a few ounces at a time and mix it in completely. Once the dribbles off the stirring spoon are globules versus a drizzle you’ve hit the magic spot. Some will put a spoon full of the mix on a frozen plate. If you can then turn the plate to the vertical and the marmalade doesn’t run, it’s the right consistency. It’s tough to judge, but thicker is better.
Once the mix is ready, turn the heat to low, or off. Using the ladle, constantly stir the mix so it stays consistent throughout the pot. Ladle the mix into the jars, using the funnel. Here’s how we set it up, and how the mix should fill the jar:

Gently place the lids on the jar and secure with the rings. Don’t tighten the ring all the way, leave a bit of play. When you put the jar in the boiling water bath you need to have it loose enough for air to escape from the jar.
Place the completed jar in the boiling water bath using the tongs. I set the water so that I can get three layers of cans in each pot. The trick is to gauge the depth: with each jar you add, the level comes up a bit toward the rim. If you get it just right, the top layer of jars will be 1-2 inches below the surface. The water must be at a fast boil when you add the jars. The jars will be hot, as you just put cooked jam in them. But they will be a bit cooler than the boiling water and so you have to keep the heat on the boiling pot the whole time.
Leave the jars in the boiling water for 15 minutes. This allows all the air to cook out, and when you remove the jar from the water the lid will be sealed in the ensuing vacuum. Set the jars on a table where they will be able to seal. Go back a few hours later and make sure all the jars are sealed. Tighten the rings down to hold the seal.
How do you know they were sealed in the process? Modern jar lids have an indentation on them that will pull down as the vacuum is applied. There is a satisfying “tink” noise as the lid is pulled down. You can also see it visually represented: if the dot is up, no seal. If the lid is flat it sealed.
Your jam should be good for up to a year. Some say marmalade is only good for 6 months. I probably won’t find out- it’s too good to last that long.
The recipe above made 70 jars of marmalade.
I hope you get as hooked as I am on this hobby. It’s not cheap, you can buy Smucker’s for less. But it won’t be yours and it won’t be nearly as good.
********* ********** *********** ***********
I have a favor to ask of my readers: would you kindly share this blog with your friends, family, and colleagues? We hit a million views in 2014, and while the readership continues a nice growth trend, it could be a lot better. Just hit the Facebook like button, share it on your timeline, tweet the blog with a link, and tell that person at the next desk that there’s this lunatic who writes about all sorts of stuff that they might like.
I appreciate your help. When we hit 2,000,000 readers I will give away something cool to a drawing from the subscribers (that’s the box on the right toward the top) who have helped promote this mess. No used sheets, probably not honey, more likely gift cards. Be a part of it. I’ll update from time to time where we’re at in the count. Thanks.